
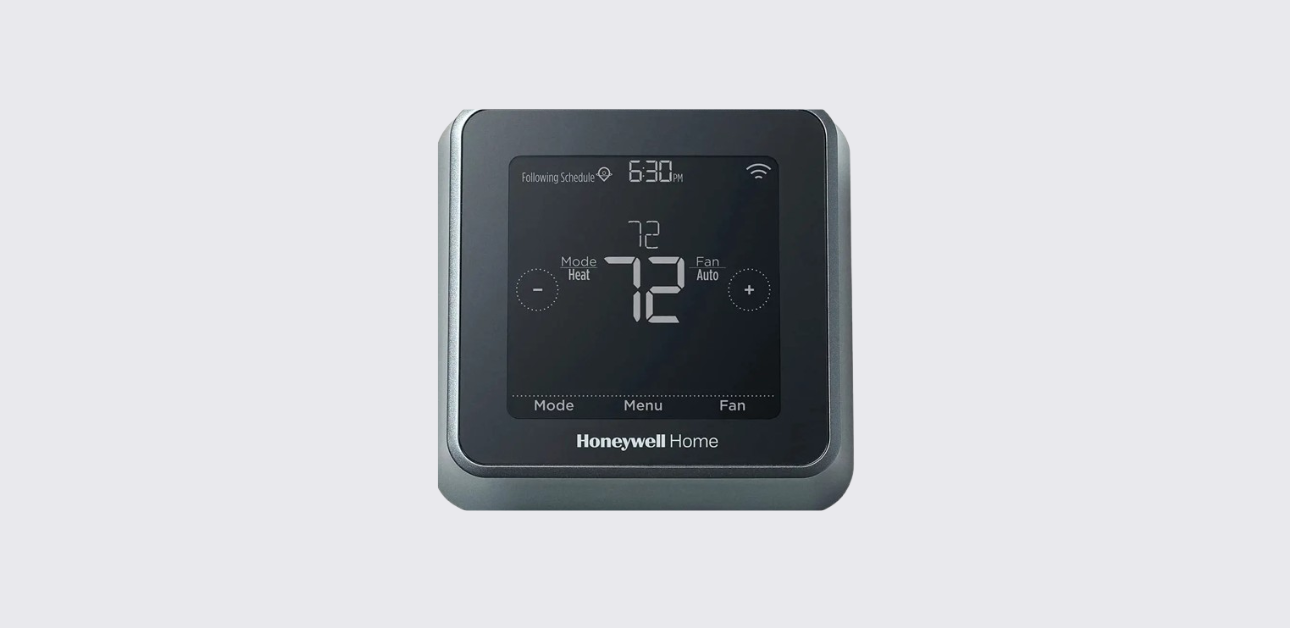
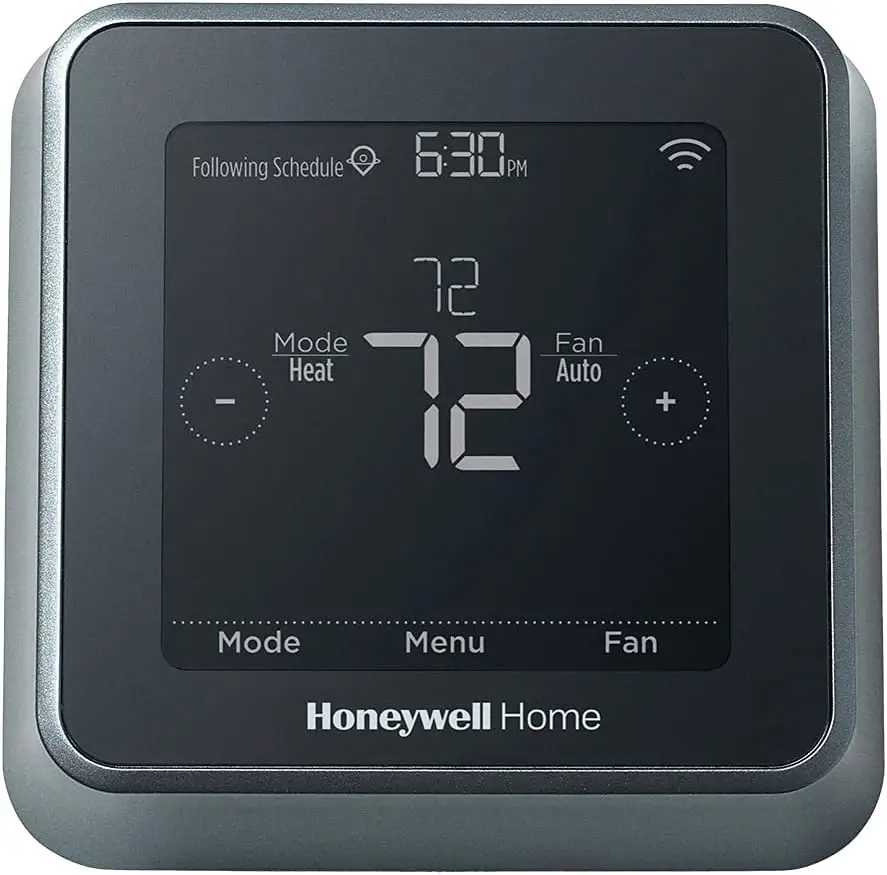
This comprehensive quick installation guide explains how to install, wire, and configure the Honeywell T5+ smart thermostat for reliable heating and cooling performance.
The thermostat is designed for smart home climate control, offering features such as geofencing scheduling, Wi-Fi connectivity, automated comfort settings, and energy-saving optimization.
This guide follows the official installation workflow but presents it in a clearer, structured, and easy-to-follow format.
Tools & Materials Required
Before starting installation, prepare the following tools:
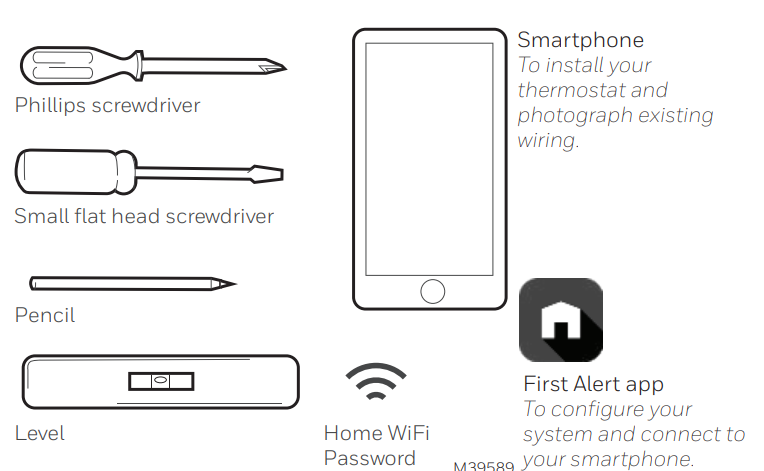
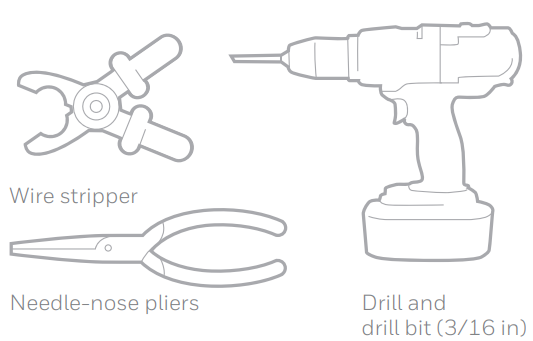
- Standard Phillips screwdriver
- Drill (if wall anchors are needed)
- Wire labels or masking tape
- Smartphone (for app-based setup)
- Voltage tester (recommended for safety)
Package Contents
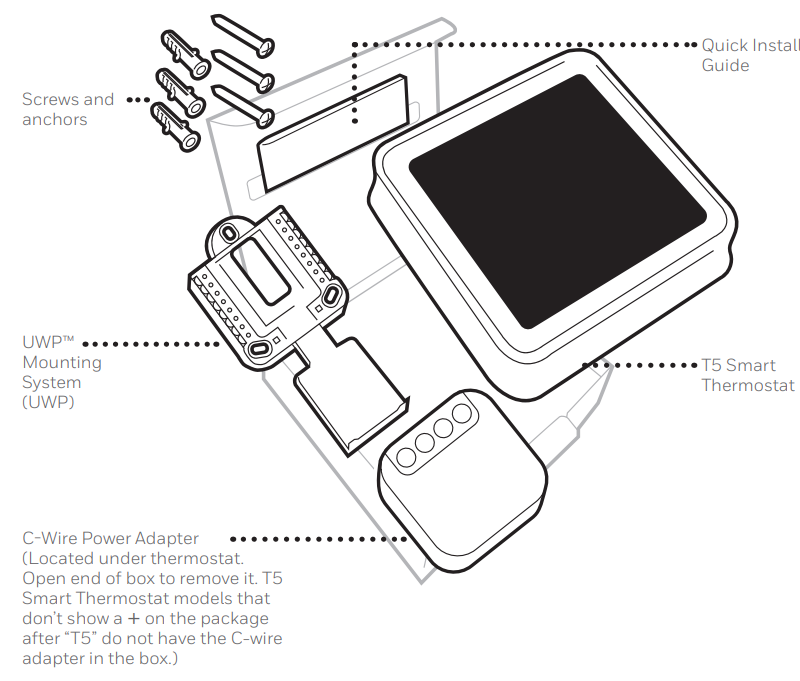
Inside the Honeywell T5+ thermostat box, you will typically find:
- Smart thermostat unit
- UWP (Universal Wall Plate) mounting system
- Decorative cover plate
- Screws and wall anchors
- Wire labels
- Quick install documentation
- C-wire adapter (in selected package versions)
Tip: Always verify package contents before starting installation to avoid delays.
System Compatibility Requirements
Supported HVAC systems
The Honeywell T5+ thermostat is compatible with:
- 24-volt low-voltage heating and cooling systems
- Gas, oil, or electric furnace systems
- Heat pump systems
- Central air conditioning systems
Not compatible with
- Line-voltage systems (120V / 240V baseboard heating)
- Millivolt systems
- Proprietary communicating HVAC systems
- Systems requiring sensor or ventilation relay terminals
Quick Installation
Step 1 — Turn Off Power
- Switch OFF power to your HVAC system at the breaker panel.
- Confirm the system is completely powered down before touching wiring.
This prevents electrical hazards and equipment damage.
Step 2 — Remove Existing Thermostat
- Carefully remove the old thermostat cover.
- Take a photo of the wiring connections for reference.
- Label each wire using included wire tags.
- Disconnect wires from the old thermostat.
- Remove the mounting plate from the wall.
Step 3 — Identify C-Wire Requirement
The Honeywell T5+ smart thermostat typically requires a C-wire (common wire) for continuous power.

If a C-wire is available
- Proceed with direct wiring installation.
If a C-wire is not available
- Install the included C-wire adapter following manufacturer instructions.
This ensures stable Wi-Fi connectivity and smart feature operation.
Step 4 — Mount the UWP Wall Plate
- Feed thermostat wires through the center opening of the wall plate.
- Level the plate and mark drilling points.
- Drill holes and insert wall anchors if needed.
- Secure the plate using mounting screws.
Step 5 — Connect Thermostat Wiring
Insert wires into the appropriate terminal slots on the UWP plate.
Typical terminal connections
| Terminal | Function |
| R / Rc | Power supply |
| C | Common wire |
| Y | Cooling system |
| W | Heating system |
| G | Fan control |
| O/B | Heat pump reversing valve |
Important: Set the R-switch position correctly based on your system configuration.
Step 6 — Attach Thermostat Unit
- Align thermostat with the mounted wall plate.
- Press gently until the device clicks into place.
Restore HVAC system power once installation is complete.
Initial Power-On & Startup
After powering on:
- The thermostat display will activate.
- Follow on-screen prompts for basic configuration.
- Select system type and operating preferences.
Smart App Setup (Recommended Method)
The thermostat can be configured using the Honeywell Home mobile application.
Setup process
- Download the Honeywell Home app from your device store.
- Create or sign in to your account.
- Add a new thermostat device.
- Connect thermostat to 2.4 GHz Wi-Fi network.
- Complete guided setup instructions.
Smart features enabled via app
- Geofencing temperature automation
- Remote temperature adjustment
- Energy usage monitoring
- Comfort scheduling customization
- Alerts for maintenance reminders
Manual Setup (Alternative Method)
If you prefer not to use the mobile app:
- Access thermostat menu.
- Enter installer setup mode.
- Configure equipment type and staging.
- Select scheduling model.
- Set heating and cooling temperature ranges.
Installer setup uses numeric configuration codes to define system behavior.
Understanding Smart Scheduling
The Honeywell T5+ supports multiple scheduling strategies:
Time-based scheduling
- Fixed temperature changes throughout the day
Location-based scheduling
- Uses smartphone GPS to detect occupancy
Hybrid smart scheduling
- Combines time and geolocation for optimal efficiency
This approach improves comfort while reducing energy consumption.
Connectivity & Wi-Fi Guidelines
For reliable performance:
- Use 2.4 GHz wireless networks only
- Ensure thermostat is within router range
- Avoid installing near metal obstructions
- Maintain stable internet connectivity for smart features
The thermostat can still operate manually without Wi-Fi.
Troubleshooting Installation Issues
Thermostat not powering on
- Check breaker panel
- Verify R and C wire connections
- Confirm system compatibility
Wi-Fi connection failure
- Reset router
- Confirm network frequency
- Restart thermostat setup process
HVAC system not responding
- Recheck terminal wiring
- Confirm installer configuration settings
- Ensure R-switch is correctly positioned
Maintenance & Best Practices
- Replace air filter based on thermostat alerts
- Clean thermostat exterior periodically
- Keep firmware updated via mobile app
- Review scheduling settings seasonally
Honeywell X2S Smart Thermostat RTH2SMC Installation Guide
Support & Contact
For technical assistance or warranty service, contact Honeywell Home support:
- Website: https://www.honeywellhome.com/support
- Customer Support Phone: 1-800-468-1502
- Manufacturer: Resideo Technologies, Inc.
Address: 1985 Douglas Drive North, Golden Valley, MN, USA