
Are you ready to upgrade your home’s heating and cooling system with the latest Honeywell T6 Pro programmable thermostat? Installing this innovative device might seem daunting, but don’t worry – I’m here to guide you through the process with simple, easy-to-follow instructions.
As a seasoned HVAC professional, I’ve helped countless homeowners successfully set up their Honeywell thermostats. In this article, I’ll break down the installation process into straightforward steps, ensuring you can do it yourself without any complications.
The T6 Pro Programmable Thermostat offers advanced features that will help you save energy and maintain a comfortable indoor environment. But before you can enjoy its benefits, you need to get it up and running. So, let’s dive into the installation details!
An Overview of the Honeywell T6 Pro Thermostat
Before we begin the installation process, let me give you a quick rundown of the Honeywell T6 Pro Programmable Thermostat’s key features:
- Programmable Schedules: This thermostat allows you to set customized temperature schedules for different times of the day, ensuring your home is always at the ideal comfort level while maximizing energy efficiency.
- Intelligent Recovery: The “Adaptive Intelligent Recovery” feature ensures your desired temperature is achieved by the scheduled time, minimizing energy waste.
- Multi-Stage Control: Depending on the model, the T6 Pro can control up to three stages of heating and two stages of cooling, providing precise temperature regulation.
- Wired or Wireless Options: You can choose between a wired or wireless outdoor sensor for even more accurate temperature readings.
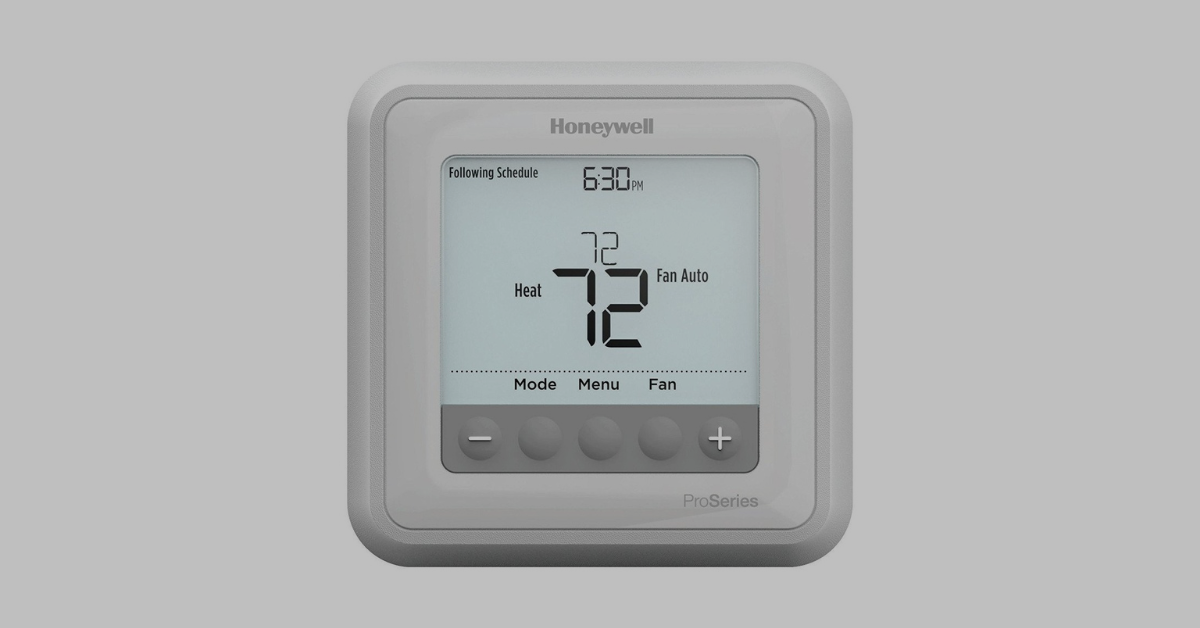
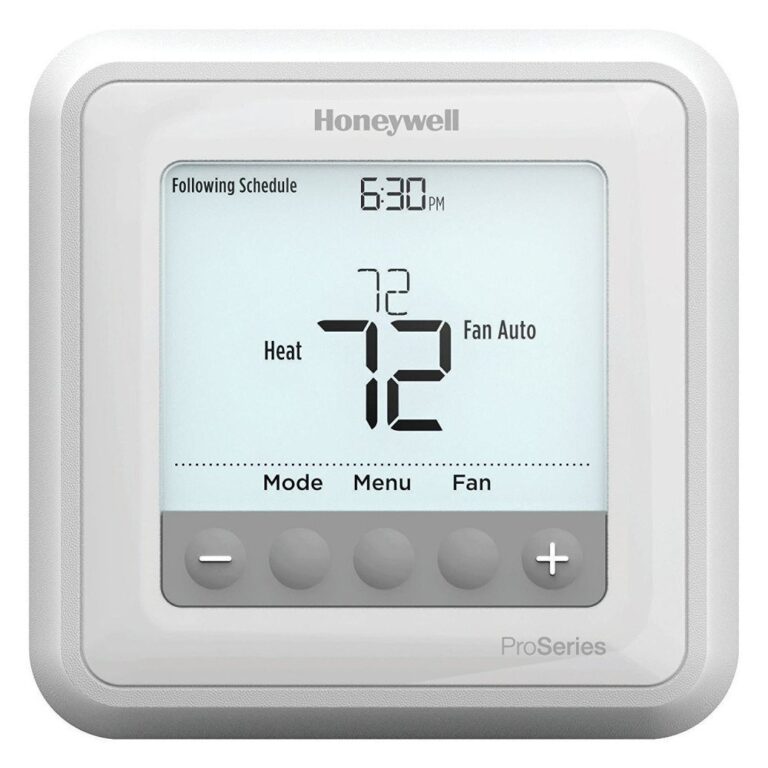
- User-Friendly Interface: The backlit display and intuitive controls make programming and adjusting the thermostat a breeze.
Now that you know what you’re working with, let’s get started with the installation!
Honeywell T6 Pro Programmable Thermostat User Guide
Preparing for Installation
Before you begin the installation process, there are a few things you’ll need to gather:
- The Honeywell T6 Pro Programmable Thermostat
- Screwdrivers (flat and Phillips head)
- Drill (if mounting on drywall)
- Wall anchors (if mounting on drywall)
- Level
- Wire strippers
- Your HVAC system’s wiring diagram (if available)
Additionally, it’s essential to turn off the power to your HVAC system at the circuit breaker or disconnect switch. Safety should always come first when working with electrical components.
Step 1: Removing the Old Thermostat
The first step in the installation process is to remove your existing thermostat. Don’t worry; it’s a straightforward process:
- Turn off the power to your HVAC system at the circuit breaker or disconnect switch.
- Remove the cover or faceplate of your old thermostat to expose the wiring.
- Take a picture of the wiring connections or make a note of which wire is connected to each terminal. This will help you wire the new thermostat correctly.
- Carefully disconnect the wires from the terminals, being careful not to let them fall back into the wall cavity.
- Remove the old thermostat base from the wall, taking note of any anchors or mounting hardware used.
With the old thermostat out of the way, you’re ready to move on to the next step.
Step 2: Mounting the Honeywell T6 Pro Thermostat
The Honeywell T6 Pro Thermostat offers two mounting options: a Universal Wallplate (UWP) Mounting System or an Optional Cover Plate installation. Let’s go over both methods:
UWP Mounting System
- Position the UWP on the wall where you want to install the thermostat.
- Use a level to ensure the UWP is straight, and mark the mounting hole positions on the wall.
- Drill holes at the marked positions, and insert the supplied wall anchors.
- Pull the wires through the wiring hole in the UWP, and place the UWP over the wall anchors.
- Secure the UWP to the wall using the supplied mounting screws.
Optional Cover Plate Installation
- Separate the Junction Box Adapter from the Cover Plate.
- Mount the Junction Box Adapter to the wall or electrical box using the supplied screws.
- Attach the UWP to the Junction Box Adapter by hanging it on the top hook and snapping the bottom into place.
- Snap the Cover Plate onto the Junction Box Adapter.
Whichever mounting method you choose, ensure the thermostat is level and secure on the wall.
Honeywell FocusPRO P200 Series Thermostat User Guide
Step 3: Wiring the Thermostat
This step is crucial, as improper wiring can damage your HVAC system or the thermostat itself. Take your time and double-check your connections:
- Refer to the wiring diagram in the installation manual or the one you made when removing the old thermostat.
- Strip about 1/4 inch of insulation from the end of each wire.
- Connect the wires to the appropriate terminals on the Honeywell T6 Pro Thermostat. The most commonly used terminals are labeled R (24VAC power), W (heat relay), Y (cooling contactor), and G (fan relay).
- If your system has additional components like a heat pump or multiple stages of heating or cooling, consult the manual for the correct terminal connections.
- Once all wires are connected, gently tuck them into the wall cavity or UWP.
Double-check your work to ensure all connections are secure and there are no loose wires.
Step 4: Powering Up and Programming
With the thermostat mounted and wired, it’s time to bring it to life:
- Turn the power back on to your HVAC system at the circuit breaker or disconnect switch.
- The Honeywell T6 Pro Thermostat should power up and display its initial settings.
- Follow the on-screen prompts to set the date, time, and other basic preferences.
- Access the “Installer Setup” menu to configure advanced settings like system type, equipment type, and cycle rates.
- Program your desired temperature schedules for different times of the day and days of the week.
Refer to the user manual for detailed instructions on navigating the menus and programming options.
Honeywell T4 Pro Programmable Thermostat User Guide
Step 5: Testing and Finalizing
Before wrapping up the installation, it’s essential to test the thermostat to ensure everything is working correctly:
- Access the “System Test” menu and follow the prompts to test each component of your HVAC system (heating, cooling, fan, etc.).
- Adjust the temperature settings and ensure the system responds accordingly.
- If any issues arise, double-check your wiring connections and system settings.
- Once everything is functioning properly, snap the thermostat cover back into place.
Congratulations! You’ve successfully installed your new Honeywell T6 Pro Programmable Thermostat. Enjoy the enhanced comfort and energy savings it provides.
Honeywell T9 Smart Thermostat User Guide
Tips and Troubleshooting
Even with clear instructions, you might encounter a few hiccups during the installation process. Here are some tips and troubleshooting suggestions:
- Ensure Power Supply: The Honeywell T6 Pro Thermostat requires a constant power supply, either from your HVAC system’s transformer or batteries. If the thermostat is not powering on, check these connections.
- Check Wiring: Incorrect wiring is a common issue during thermostat installations. Double-check that each wire is connected to the correct terminal, and ensure there are no loose connections.
- Consult Manuals: If you’re unsure about a specific setting or feature, refer to the user manual or installation instructions for guidance.
- Seek Professional Help: If you’re still having trouble after trying all the troubleshooting steps, don’t hesitate to contact a professional HVAC technician for assistance.
By following these tips and the step-by-step installation guide, you’ll be able to enjoy the benefits of your new Honeywell T6 Pro Programmable Thermostat in no time.
Honeywell T5+ Smart Thermostat Quick Install Guide
Embrace Energy Efficiency and Comfort
The Honeywell T6 Pro Programmable Thermostat is a powerful tool for achieving energy efficiency and maintaining a comfortable home environment. With its advanced features and user-friendly interface, you’ll have complete control over your heating and cooling system.
Remember, proper installation is crucial to ensure the thermostat functions correctly and delivers the promised benefits. By following the installation instructions outlined in this article, you can confidently tackle the process yourself and start enjoying the convenience and cost savings of your new thermostat.
So, what are you waiting for? Gather your tools, consult the manual, and get ready to experience the future of home comfort with the Honeywell T6 Pro Programmable Thermostat!