
This easy-to-use appliance helps you cook perfect rice and steam vegetables with minimal effort. Whether you’re preparing white rice, brown rice, or steaming vegetables, this manual will walk you through everything you need to know for safe, efficient, and satisfying use.
1. Introduction
The Oster Rice Cooker simplifies meal preparation. Just measure, add water, press a button, and enjoy fluffy, perfectly cooked rice. This manual will guide you step-by-step so you can make the most of your appliance safely and effectively.
2. Safety Guidelines
General Safety
- Read all instructions before use.
- Always unplug the unit when not in use and before cleaning.
- Use the appliance on a flat, heat-resistant surface.
- Keep away from children during use.
- Avoid using outdoors or in damp environments.
Electrical Safety
- Do not immerse the heating base, cord, or plug in water.
- Use only with a standard 120V AC electrical outlet.
- Never use with a damaged cord or plug.
- Always insert the plug fully into the outlet.
- Do not use extension cords without proper ratings.
Steam and Heat Safety
- Use pot holders when handling hot parts.
- Do not touch the inner pot or lid while cooking.
- Keep hands and face away from the steam vent.
- Never operate uncovered.
3. Product Overview
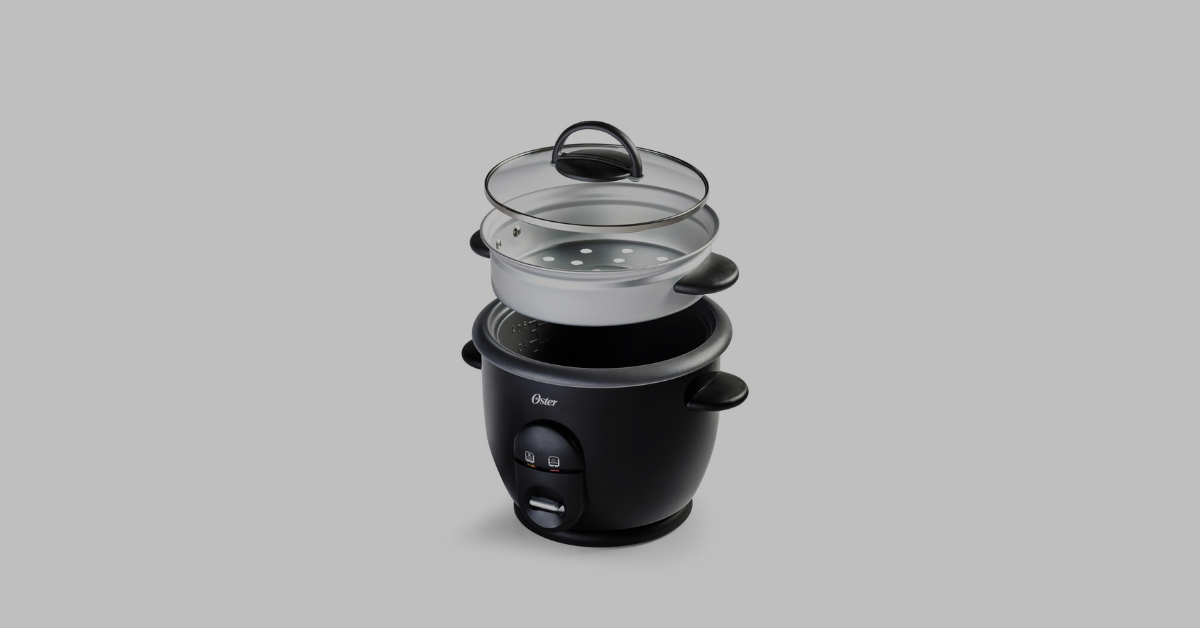
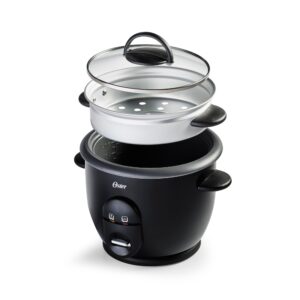
The Oster Rice Cooker includes the following components:
| Part Name | Description |
| Glass Lid | Transparent cover to retain heat and moisture |
| Inner Pot | Non-stick pot where rice and water are placed |
| Heating Body | Base unit containing the heating element |
| Cook Light | Illuminates when cooking starts |
| Keep Warm Light | Illuminates when cooking is complete |
| Cook Switch | Button to start cooking |
| Handles | Side grips for safe handling |
| Steaming Tray* | For steaming vegetables (*select models only) |
| Measuring Cup | 5.33 oz cup used for precise rice measurement |
| Rice Ladle | Non-metal serving spoon |
4. What’s Included
- Oster Rice Cooker base unit
- Inner non-stick pot
- Glass lid
- Rice ladle
- 5.33 oz Oster™ measuring cup
- Steaming basket (on select models)
- User manual
5. Before First Use
- Unpack everything carefully. Remove all packaging materials.
- Wash the lid, inner pot, rice ladle, and measuring cup using warm, soapy water.
- Dry all parts thoroughly before assembling.
- Do not immerse the heating base, cord, or plug in water.
6. How to Use the Rice Cooker
Step-by-Step Instructions:
- Measure the rice using the included Oster™ measuring cup.
- One cup = 5.33 oz of uncooked rice.
- The cooker holds up to 5 cups of uncooked rice or 10 cups cooked.
- One cup = 5.33 oz of uncooked rice.
- Rinse the rice in a separate bowl until water is clear.
- Add the rinsed rice to the inner pot.
- Add water using the water level indicators inside the pot.
- Example: For 3 cups of rice, fill water up to the “3” line.
- Example: For 3 cups of rice, fill water up to the “3” line.
- Place the inner pot into the heating base. Ensure it’s seated properly.
- Wipe the outer surface of the pot to make sure it’s dry.
- Cover with the glass lid.
- Plug in the cooker to a 120V outlet.
- Press the cook switch down. The cook light will turn on.
- When rice is done, the switch pops up and the keep warm light turns on.
- Let it sit for 10–15 minutes before serving to improve texture.
- Stir the rice gently with the provided ladle to release steam.
- Unplug the cooker when finished.
⚠️ Do not use instant rice. It may cook unevenly or cause the appliance to boil over.
7. Cooking Tips
- Rinse rice to remove starch and improve flavor.
- Let rice sit for 10 minutes after cooking to fully steam.
- Don’t cook rice with the ladle or measuring cup inside the pot.
- Brown rice takes longer—add more water and allow extra time.
- For softer rice, soak the rice in water for 10–15 minutes before cooking.
Water-to-Rice Ratios
| Rice Type | Ratio (Water:Rice) |
| White Rice | 1.5–2 cups water per cup rice |
| Brown Rice | 2.5 cups water per cup rice |
| Basmati/Indian Rice | 1.5 cups water per cup rice |
| Soft/Sticky Rice | 2 cups water per cup rice |
8. Using the Steaming Basket
(Included with select models)
You can steam vegetables while rice cooks or separately.
Steaming Separately:
- Fill the inner pot with the recommended amount of water.
- Place the steaming tray on the rim of the pot.
- Add vegetables to the basket.
- Cover with lid and press cook.
- Steam until desired doneness.
- Unplug and serve.
Steaming While Cooking Rice:
- Start cooking rice as usual (steps 1–4 above).
- Add the steaming basket 10–15 minutes before the rice is done.
- Place food into the basket and cover.
- The total rice cooking time is ~35 minutes.
- When finished, let rice sit and unplug the unit.
ℹ️ Cooking times vary by vegetable and personal taste.
9. Vegetable Steaming Time Chart
| Vegetable | Time (Min) |
| Asparagus | 8–10 |
| Broccoli | 11–13 |
| Brussels Sprouts | 11–13 |
| Carrots | 8–10 |
| Cauliflower | 11–13 |
| Cabbage (shredded) | 6–8 |
| Cabbage (wedges) | 14–16 |
| Mushrooms (sliced) | 3–4 |
| Pea Pods | 4–6 |
| Zucchini | 10–12 |
⛰️ At high altitudes, add 2–3 extra minutes of steaming time.
10. How to Clean the Rice Cooker
Clean after every use to maintain performance and hygiene.
Step-by-Step Cleaning:
- Unplug the appliance and allow it to cool completely.
- Do not immerse the base, cord, or plug in water.
- Remove the inner pot and lid.
- Wash the pot, lid, ladle, and measuring cup with warm, soapy water.
- These parts are dishwasher-safe.
- These parts are dishwasher-safe.
- Use non-abrasive sponges. Avoid steel wool and harsh chemicals.
- Wipe the heating plate with a soft, damp cloth.
- Remove any grains stuck to the plate with a non-abrasive pad.
- Remove any grains stuck to the plate with a non-abrasive pad.
- Dry all parts thoroughly before reassembling.
11. Troubleshooting
| Problem | Solution |
| Rice is too hard or dry | Add more water next time. Let it rest longer. |
| Rice is too soft or mushy | Use less water or rinse rice more thoroughly. |
| Rice cooker boils over | Rinse rice well to remove excess starch. |
| Unit won’t switch to Cook mode | Check that the inner pot is seated correctly. |
| Rice sticks to bottom | Don’t keep in warm mode too long. Stir after cook. |
| Steam is escaping heavily | Make sure the lid is properly placed. |
12. Product Specifications
- Brand: Oster®
- Model: Rice Cooker (varies by SKU)
- Power Supply: 120 Volt AC
- Capacity: 5 cups uncooked / 10 cups cooked rice
- Materials: Non-stick inner pot, glass lid
- Features: Cook, Keep Warm, Steam tray (select models)
13. 1-Year Warranty Information
The Oster Rice Cooker is covered by a limited 1-year warranty.
What’s Covered:
- Defects in materials or workmanship under normal use
What’s Not Covered:
- Damage from misuse or unauthorized repairs
- Use with incorrect voltage or power source
- Normal wear and tear
- Accidents or natural disasters
Proof of purchase is required.
Contact: 1-800-334-0759 (USA) or 1-800-667-8623 (Canada)
14. Frequently Asked Questions (FAQs)
Can I use a regular measuring cup?
No. Always use the included Oster™ measuring cup for accurate results.
Can I cook less than 1 cup of rice?
Yes, even ¼ cup can be cooked successfully.
Can I steam vegetables without cooking rice?
Yes, just add water and steam in the basket as needed.
How long does it take to cook rice?
On average, white rice takes 20–30 minutes; brown rice takes ~35 minutes.
Can I cook quinoa or lentils?
Yes! Use proper water ratios:
- ¾ cup quinoa + 2 cups water
15. Glossary
Cook Mode:
The rice cooker’s setting where the heating element cooks rice.
Keep Warm Mode:
Automatic setting that keeps rice warm after cooking.
Non-stick Coating:
Special surface inside the pot to prevent rice from sticking.
Steaming Basket:
Removable tray used to steam vegetables above the rice.
Oster Measuring Cup:
Special cup (5.33 oz) provided for measuring uncooked rice.
Final Tips
- Always unplug after use.
- Allow rice to rest before opening.
- Clean thoroughly after every use.
- Use the right rice-to-water ratios.
- Never use metal utensils on the inner pot.