
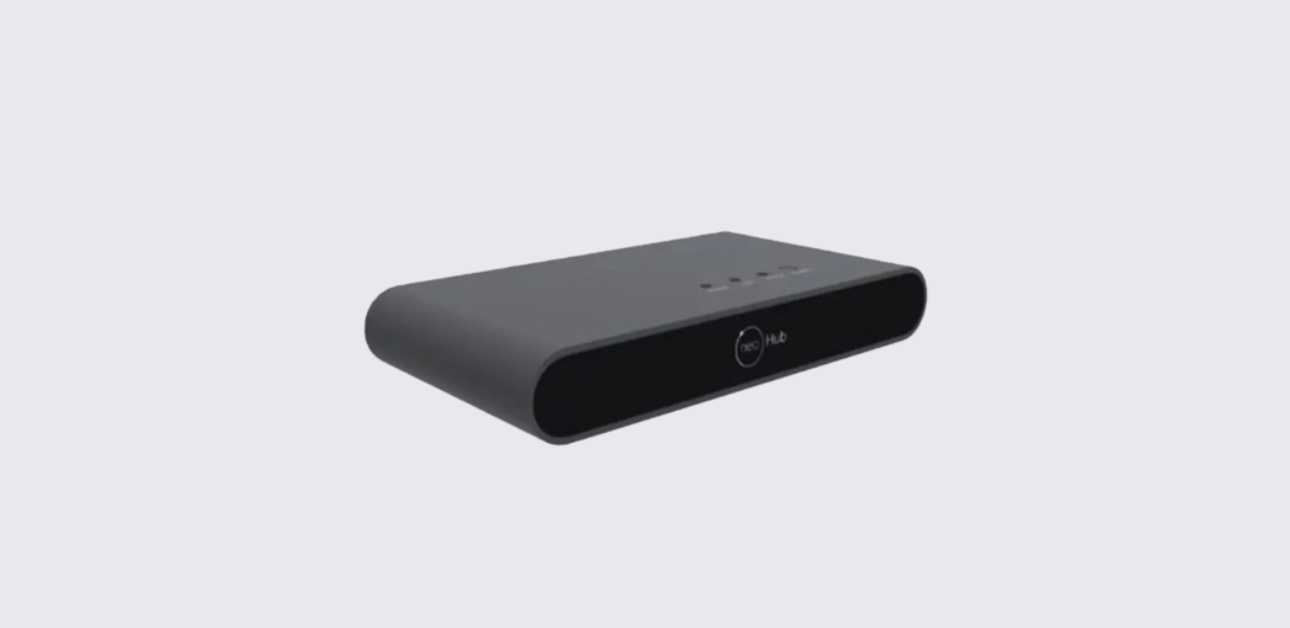
The Heatmiser neoHub Gen3 is a smart gateway designed to connect compatible Heatmiser neo devices to the Heatmiser neoApp, Apple HomeKit, and supported smart home controls. It links the home heating system to the internet through a broadband router, allowing users to control thermostats, plugs, and compatible heating devices from a phone, tablet, or smart home platform.
The official quick-start guide covers system requirements, router connection, app setup, adding a location, pairing neo devices, Apple HomeKit setup, factory reset, compliance information, and Heatmiser support details.
Key Features
The Heatmiser neoHub Gen3 includes:
- Smart gateway control for Heatmiser neo systems
- Ethernet connection to broadband router
- Heatmiser neoApp setup
- Apple HomeKit support
- Siri voice control support
- Smart heating control from iPhone, iPad, Apple Watch, HomePod, HomePod mini, or Mac
- Pairing support for compatible Heatmiser neo devices
- Location-based setup in the neoApp
- Zone/device pairing through the app
- Factory reset button
- 868MHz and 2.4GHz radio communication
- 6–12V DC output through 2.1mm DC jack plug
- Security using AES-based frame protection for supported neo device communication
Compatible Devices
The guide states that the neoHub enables the following Heatmiser devices to work with HomeKit technology:
| Compatible Device | Purpose |
| neoStat | Smart thermostat control |
| neoStat-e | Electric heating thermostat control |
| neoStat-hw | Hot water programmer control |
| neoStat 12V | 12V thermostat system control |
| neoAir | Wireless thermostat control |
| neoPlug | Smart plug / repeater support |
| neoUltra | Smart control interface |
For more compatibility details, the guide refers users to neo.heatmiser.com.
System Requirements
Before setting up the Heatmiser neoHub Gen3, the guide lists these requirements:
| Requirement | Details |
| Broadband connection | Active broadband connection required |
| Power supply | 230V mains supply using the included adapter |
| Router | Broadband router with DHCP function |
| Mobile device | iOS or Android mobile device |
| Operating system | Windows operating system is also listed |
| Network | Mobile device should be connected to the same WiFi network as the neoHub during setup |
Parts and Ports
The diagrams in the guide show the neoHub Gen3 with simple rear and front connections.
Main Parts
| Part | Function |
| Power port | Connects the supplied power adapter |
| Ethernet port | Connects the hub to the router using the supplied Ethernet cable |
| Reset button | Used for factory reset |
| Link light | Shows network/cloud connection status |
| Connect button | Adds the neoHub location to the user account during setup |
How to Set Up the Heatmiser neoHub Gen3
Step 1: Connect Power and Ethernet
- Connect the neoHub to the router using the supplied Ethernet cable.
- Connect the power supply to the neoHub.
- Wait for the Link light to show connection status.
The guide explains that the Link light turns red when the hub is connected to the network. Once connected to the Heatmiser cloud server, the Link light turns green.
Step 2: Download the Heatmiser neoApp
- Connect the phone or tablet to the same WiFi network as the neoHub.
- Download the free Heatmiser neoApp.
- Register a new account or sign in to an existing account.
The guide shows app download options for the Apple App Store and Google Play.
Step 3: Add a Location
After signing in to the neoApp:
- Select Add Location.
- Press the Connect button on the neoHub.
- Add a title for the location, such as Home.
This connects the neoHub to the user account and prepares the system for adding neo devices.
Adding Zones and Pairing Devices
Once the neoHub is connected, the app asks users to add neo devices.
Add Zone Steps
- Select Add neoStat in the app.
- Choose a preset room title or enter a custom name.
- Press Next.
- The status light on the neoHub starts flashing.
- Put the thermostat or compatible neo device into pairing mode.
- Once connected, the device symbol stays permanently displayed.
- Press Add Another to add more devices or Finish to complete setup.
The visual guide on page 2 shows this flow as Connect to neoHub → Name Your neoHub → Add Zone → Pairing mode active → Add Another/Finish.
Pairing Mode on a neo Thermostat
The guide includes a basic pairing example for compatible neo thermostats:
- Use the left/right arrows to select the power icon.
- Press and hold the tick key.
- When SETUP is selected, press the tick key twice.
- The pairing symbol begins flashing.
- When the device connects to the hub, the symbol remains permanently displayed.
Apple HomeKit and Siri Support
The Heatmiser neoHub Gen3 works with Apple Home. The guide explains that HomeKit allows secure control of home thermostats and compatible devices from Apple devices, including iPhone, iPad, Apple Watch, HomePod, HomePod mini, and Mac.
With Siri, users can request the current temperature, set a new temperature, apply a temperature hold, and turn standby on or off through compatible Apple devices.
HomeKit Requirements
| Requirement | Detail |
| iOS version | iOS 9.3.2 or later recommended |
| Away-from-home automation | Requires Apple TV with tvOS 10.0 or later, or iPad with iOS 10.0 or later set up as a home hub |
| HomeKit setup code | Located on the reverse of the neoHub |
| Home app | Used for rooms, automations, sharing control, and Siri naming |
How to Pair neoHub with Apple HomeKit
- Pair the Heatmiser neoHub to Apple HomeKit through the neoApp.
- From the settings screen, select HomeKit & Siri.
- If no HomeKit homes exist, select Create a New Home.
- Enter a title for the home.
- Select Add New Accessory.
- Scan the HomeKit setup code on the reverse of the neoHub using the iOS device camera.
- Assign attached devices to HomeKit rooms.
- Edit service names for Siri voice control.
- Repeat for all devices.
- Select Finish Setup.
The guide also points users to Apple’s Home app resources for automations, Siri voice control, user sharing, and other HomeKit-enabled devices.
Security and Communication
The manual includes a security note for connected Heatmiser devices.
Communication between the neoHub and supported Heatmiser devices uses a frame-protection mechanism based on Advanced Encryption Standard (AES) with 128-bit randomly generated keys. Communication between Apple devices and the HomeKit-enabled neoHub is secured through Apple HomeKit technology.
Factory Reset
A factory reset clears the neoHub and removes connected devices.
Factory Reset Steps
- Locate the reset button on the neoHub.
- Press and hold the reset button for 15 seconds.
- Release the button when the power light begins to flash.
- Allow about 5 minutes for the hub to fully reset and reboot.
Important: A factory reset erases all connected devices. After reset, each device must be paired again.
Troubleshooting Guide
| Problem | Possible Cause | Recommended Action |
| Link light does not turn red | Hub is not connected to router/network | Check Ethernet cable, router power, and DHCP availability |
| Link light does not turn green | Hub cannot connect to Heatmiser cloud server | Check broadband connection and router internet access |
| App cannot find the hub | Phone may not be on the same network | Connect the mobile device to the same WiFi network as the neoHub |
| Cannot add location | Connect button not pressed or hub not online | Press the neoHub connect button and retry in the app |
| Thermostat will not pair | Device not in pairing mode | Repeat the thermostat pairing steps and watch for the flashing symbol |
| Device symbol keeps flashing | Pairing is not complete | Keep the device near the hub and repeat pairing |
| HomeKit setup fails | Setup code not scanned or wrong Home selected | Scan the HomeKit code on the reverse of the neoHub |
| Siri names do not work well | Device service names may be unclear | Rename services in HomeKit rooms |
| Hub still shows old devices after reset attempt | Reset may not have completed | Hold reset for 15 seconds and allow about 5 minutes to reboot |
| Devices disappeared after factory reset | Factory reset erases all connected devices | Re-pair all neo devices after reset |
Heatmiser Support
Heatmiser provides support, technical specifications, and compliance information online.
Support phone: +44 (0)1254 669090
Website: www.heatmiser.com
The guide also includes a QR code for the required Statement of Compliance, including the security update support period.
Compliance Information
Heatmiser declares that the neoHub Gen3 radio equipment complies with Directive 2014/53/EU.
| Radio Frequency | Maximum e.r.p |
| 868MHz | 6.24 dBm |
| 2.4GHz | 9.04 dBm |
The guide states that the full declaration of conformity is available on Heatmiser’s website.