
This comprehensive installation guide explains how to correctly install, wire, configure, and operate the Honeywell X2S smart thermostat (Model RTH2SMC).
The thermostat is designed to improve indoor comfort, automate temperature control, and help reduce energy consumption through smart scheduling and mobile-app connectivity.
This guide is ideal for homeowners, DIY installers, and HVAC professionals looking for a clear step-by-step installation reference.
Product Overview
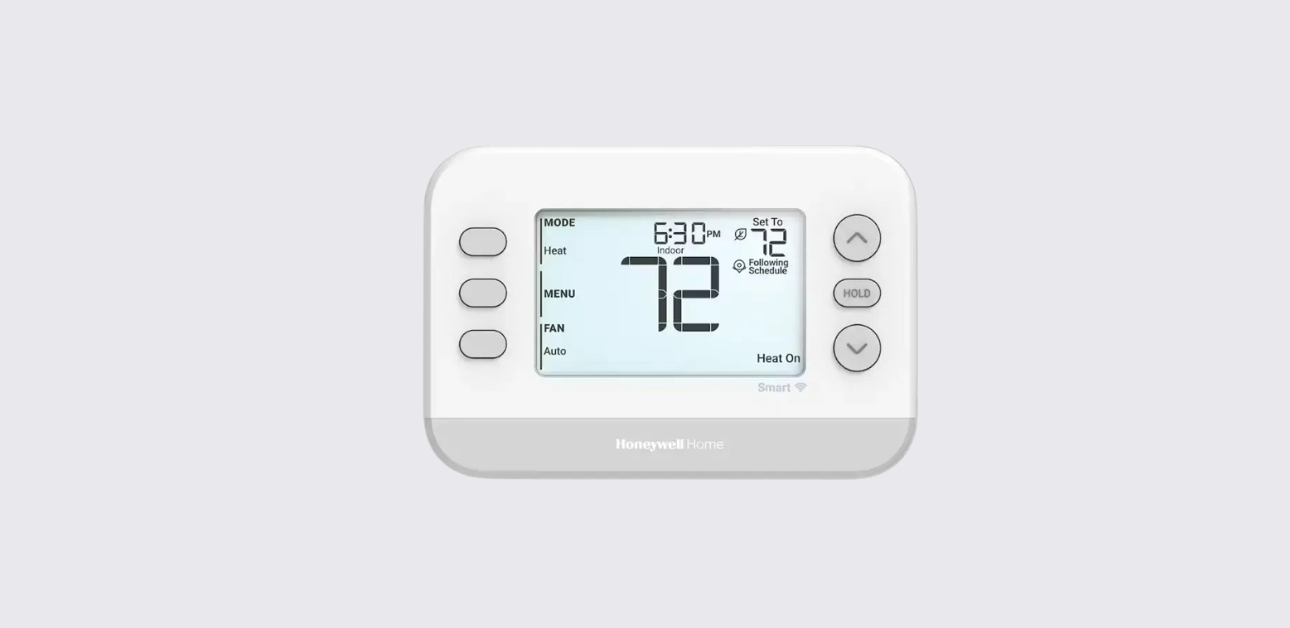
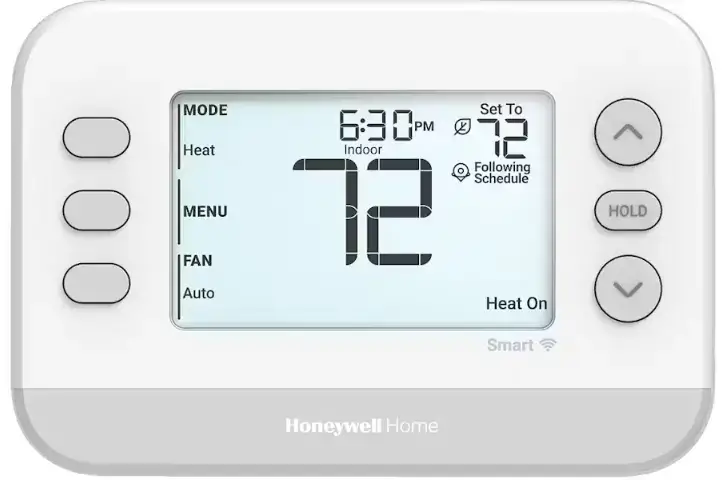
The Honeywell X2S is a smart programmable thermostat that combines automated comfort management with smartphone-based controls.
Key highlights
- Smart scheduling with Auto-Away geofencing
- Time-based temperature programming
- App-controlled thermostat adjustments
- HVAC system compatibility with common residential setups
- User-friendly display interface
- Energy-saving performance optimization
The device integrates with the First Alert thermostat mobile application, allowing users to manage home temperature remotely.
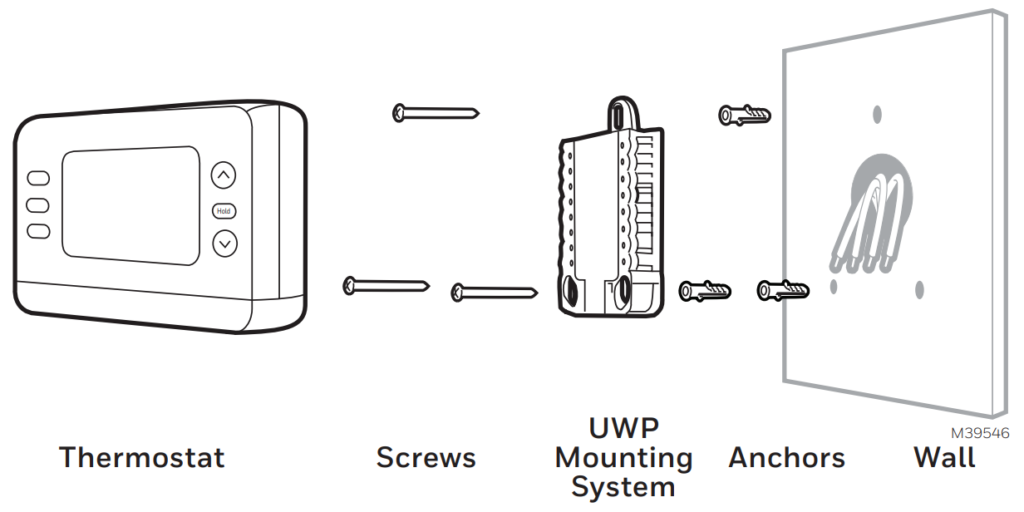
Package Contents
Before starting installation, confirm all required components are available.

Included in the box
- Honeywell X2S smart thermostat unit
- UWP mounting plate
- Decorative trim plate
- Mounting screws and wall anchors
- Wire labeling tags
- Installation documentation
If any item is missing, contact Honeywell support before proceeding.
Pre-Installation Preparation
Proper preparation ensures safe and efficient installation.
Important safety considerations
- Turn OFF power to the HVAC system at the breaker panel
- Confirm system compatibility (heat pump, furnace, AC system)
- Verify wiring condition and terminal labeling
- Ensure installation area is dry and free from dust
Tools you may need
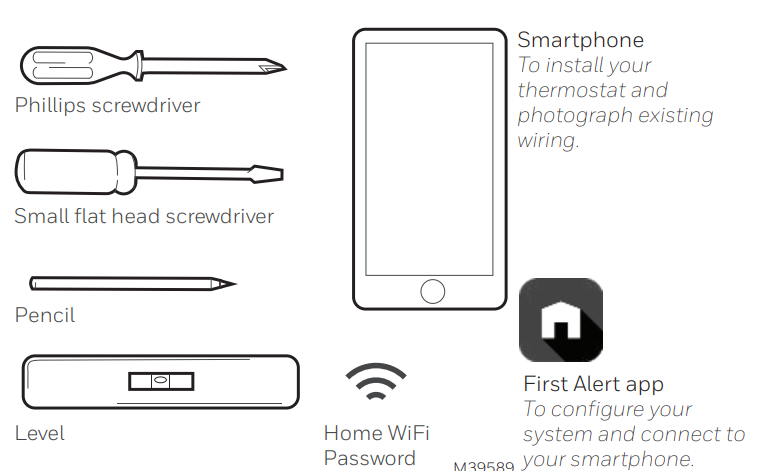
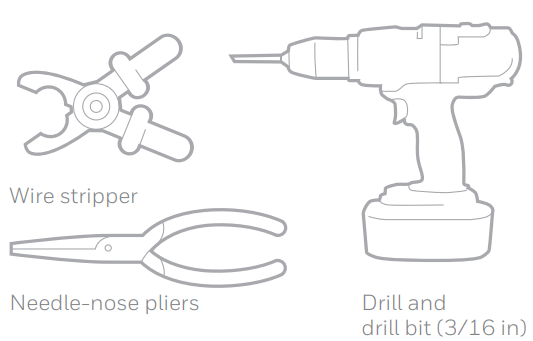
- Screwdriver
- Drill (if installing anchors)
- Level tool
- Smartphone for app setup
Removing the Old Thermostat
Follow these steps carefully to avoid wiring confusion.
Step-by-step removal process
- Switch OFF HVAC system power.
- Remove the old thermostat faceplate.
- Take a photo of existing wiring connections for reference.
- Label wires using the provided tags.
- Unscrew and remove the old wall plate.
This documentation step is critical for accurate reconnection.
Mounting the Honeywell UWP Plate
The thermostat uses the UWP (Universal Wall Plate) mounting system, simplifying installation.
Mounting procedure
- Position the UWP plate on the wall.
- Pull wires through the center opening.
- Use a level to ensure proper alignment.
- Mark drilling points if anchors are required.
- Secure plate using supplied screws.
A correctly aligned mounting plate improves device appearance and performance.
Wiring Connections
Correct wiring is essential for proper thermostat operation.
General wiring guidance
- Match labeled wires to the correct terminal slots
- Insert wires fully and tighten terminal clamps
- Avoid loose connections or exposed copper
Common terminal labels
| Terminal | Function |
| R / Rc | Power from HVAC system |
| Y | Cooling system control |
| W | Heating system control |
| G | Fan control |
| C | Common wire (required for smart features) |
Always follow system-specific wiring diagrams provided in the official manual.
Installing the Thermostat Display
After wiring is complete, attach the thermostat unit.
Installation steps
- Align thermostat with the mounted UWP plate.
- Gently press until it clicks into position.
- Restore HVAC system power.
- Wait for display activation.
The thermostat should begin the guided setup process automatically.
Initial Configuration Setup
The Honeywell X2S features a structured setup workflow.
Basic configuration steps
- Select language and regional settings
- Configure heating and cooling system type
- Set fan operation preferences
- Define temperature calibration
Proper configuration ensures accurate climate control performance.
Honeywell X8S Smart Thermostat User Guide
Smart Scheduling and Automation
This thermostat supports advanced automation modes.
Scheduling options
Time-Based Scheduling
- Create weekday and weekend temperature programs
- Customize comfort periods (Morning, Day, Evening, Night)
Auto-Away Geofencing
- Detects user location via smartphone
- Automatically switches to energy-saving mode when occupants leave
- Restores comfort settings upon return
This feature significantly improves long-term energy efficiency.
Connecting to the Mobile App
Smart connectivity expands thermostat control flexibility.
App connection steps
- Download the First Alert thermostat app
- Create or sign in to your account
- Enable Wi-Fi pairing mode on thermostat
- Follow on-screen instructions
Once connected, users can:
- Adjust temperature remotely
- View system status
- Manage schedules
- Monitor energy usage patterns
System Operation Guide
Available system modes
- Heat
- Cool
- Auto
- Fan only
Manual override
Users can temporarily change temperature settings without altering programmed schedules.
Troubleshooting Installation Issues
If the thermostat does not operate correctly, review these checks.
Common installation problems
- Display not turning on
- HVAC system not responding
- Incorrect temperature readings
- Wi-Fi connection failure
Basic troubleshooting steps
- Verify power supply and breaker status
- Check wiring terminals for secure connection
- Restart thermostat and router
- Confirm compatibility with HVAC system
For persistent issues, contact professional HVAC support.
Maintenance and Care
To maintain performance:
- Keep thermostat surface clean and dust-free
- Avoid installing near heat sources or direct sunlight
- Periodically review schedule settings
- Update mobile app firmware when available
Proper maintenance ensures consistent indoor comfort.
Honeywell X8S Smart Thermostat Getting Started Guide
Honeywell Customer Support
For installation assistance, technical troubleshooting, or warranty inquiries:
Honeywell Home Support
Website: https://www.honeywellhome.com/support
Address: Resideo Technologies Inc.,
1985 Douglas Drive North, Golden Valley, MN, USA
Users can also access extended product documentation through official support channels.